Calibrate using test leaks to ensure the accuracy of your test processes
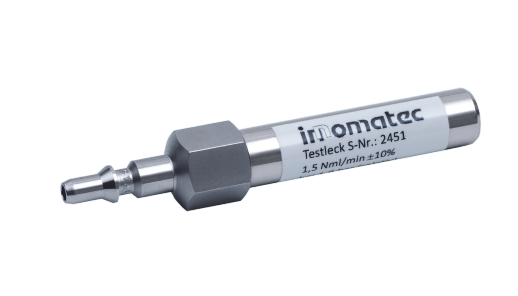
Test leaks, or “master leaks”, are reference standards built to a specific leakage rate used to calibrate and ensure the accuracy of your leak test machine. They can be used for nearly any leak test method, including pressure, flow, and tracer gas.
innomatec’s test leaks offer long-term durability and are designed with a glass capillary tube (as opposed to metal), making them the most reliable and consistent against factors that could affect the effectiveness of the device, like temperature.
How to use a test leak
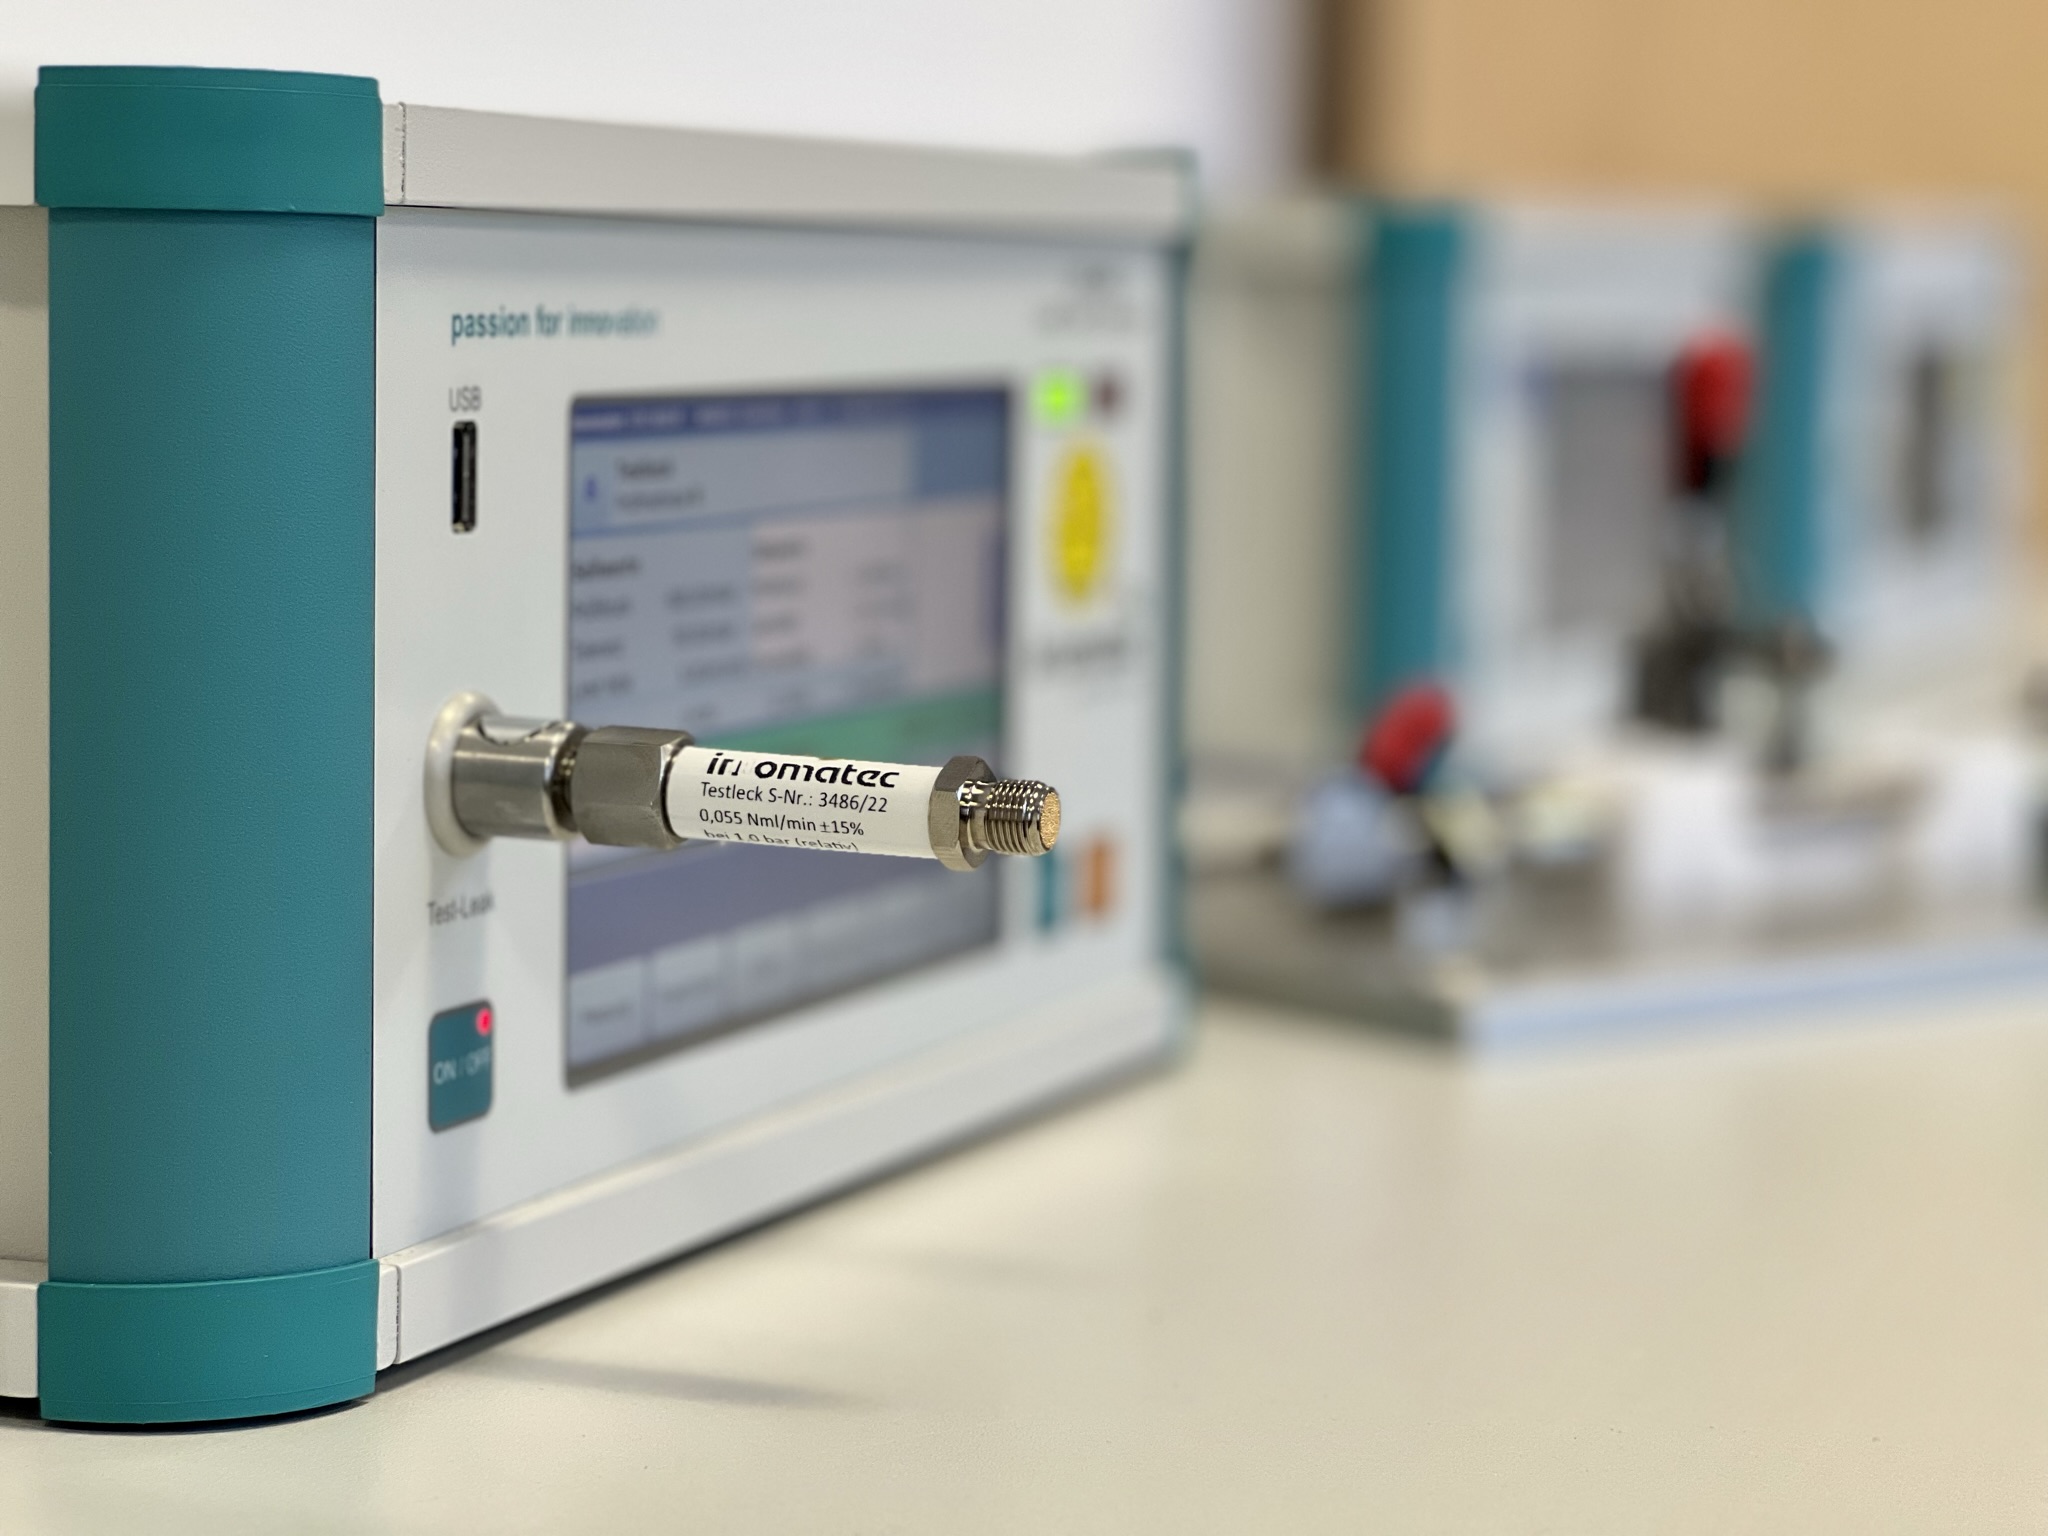
The innomatec test leak is used for thoroughly inspecting leak measurement devices and/or leak testing systems as part of quality assurance. To do this, the operator will first confirm the functioning of the machine with a leak-tight master part. Then, a test leak is applied to the machine to simulate a known, calibrated leak rate (either manually, built into the leak tester, or directly on the master part). If the test results are consistent with the test leak simulator, then the process is properly calibrated with established quality specifications. Using test leaks, the functional capability of test equipment can be checked easily, quickly and cost-effectively.
It is recommended to conduct a test leak calibration on leak test machines at the beginning of every shift change, or after any tool changes or with specific incidents, discrepancies, or repairs.
Designed for accuracy and long-term durability
innomatec test leaks feature industry-leading durability, built with a housing of brass or stainless steel and an in-built glass capillary tube. There is a filter at the entrance to the glass capillary tube to protect from contamination. Using a glass capillary tube in the design (as opposed to metal), adds to the reliability of innomatec’s devices, as it better protects against factors that could affect results, like temperature.
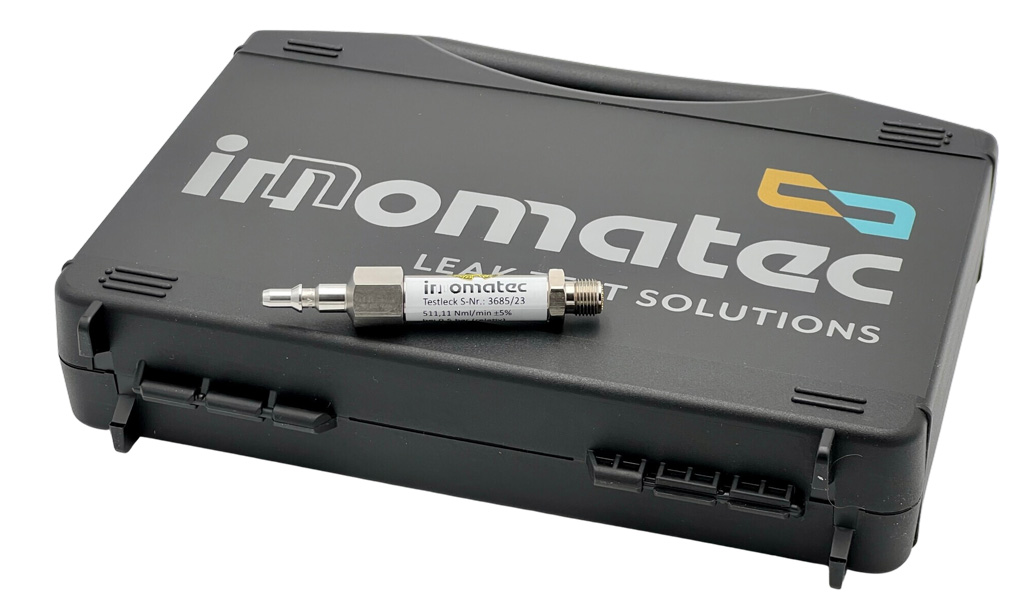
innomatec’s test leaks are supplied with a storage case for optimal safety and longevity of the device, with standard delivery time within 2 weeks of order. Custom options also available. Simply contact innomatec’s team to help you select the right test leaks for your needs.
Are you testing many different leak rates?
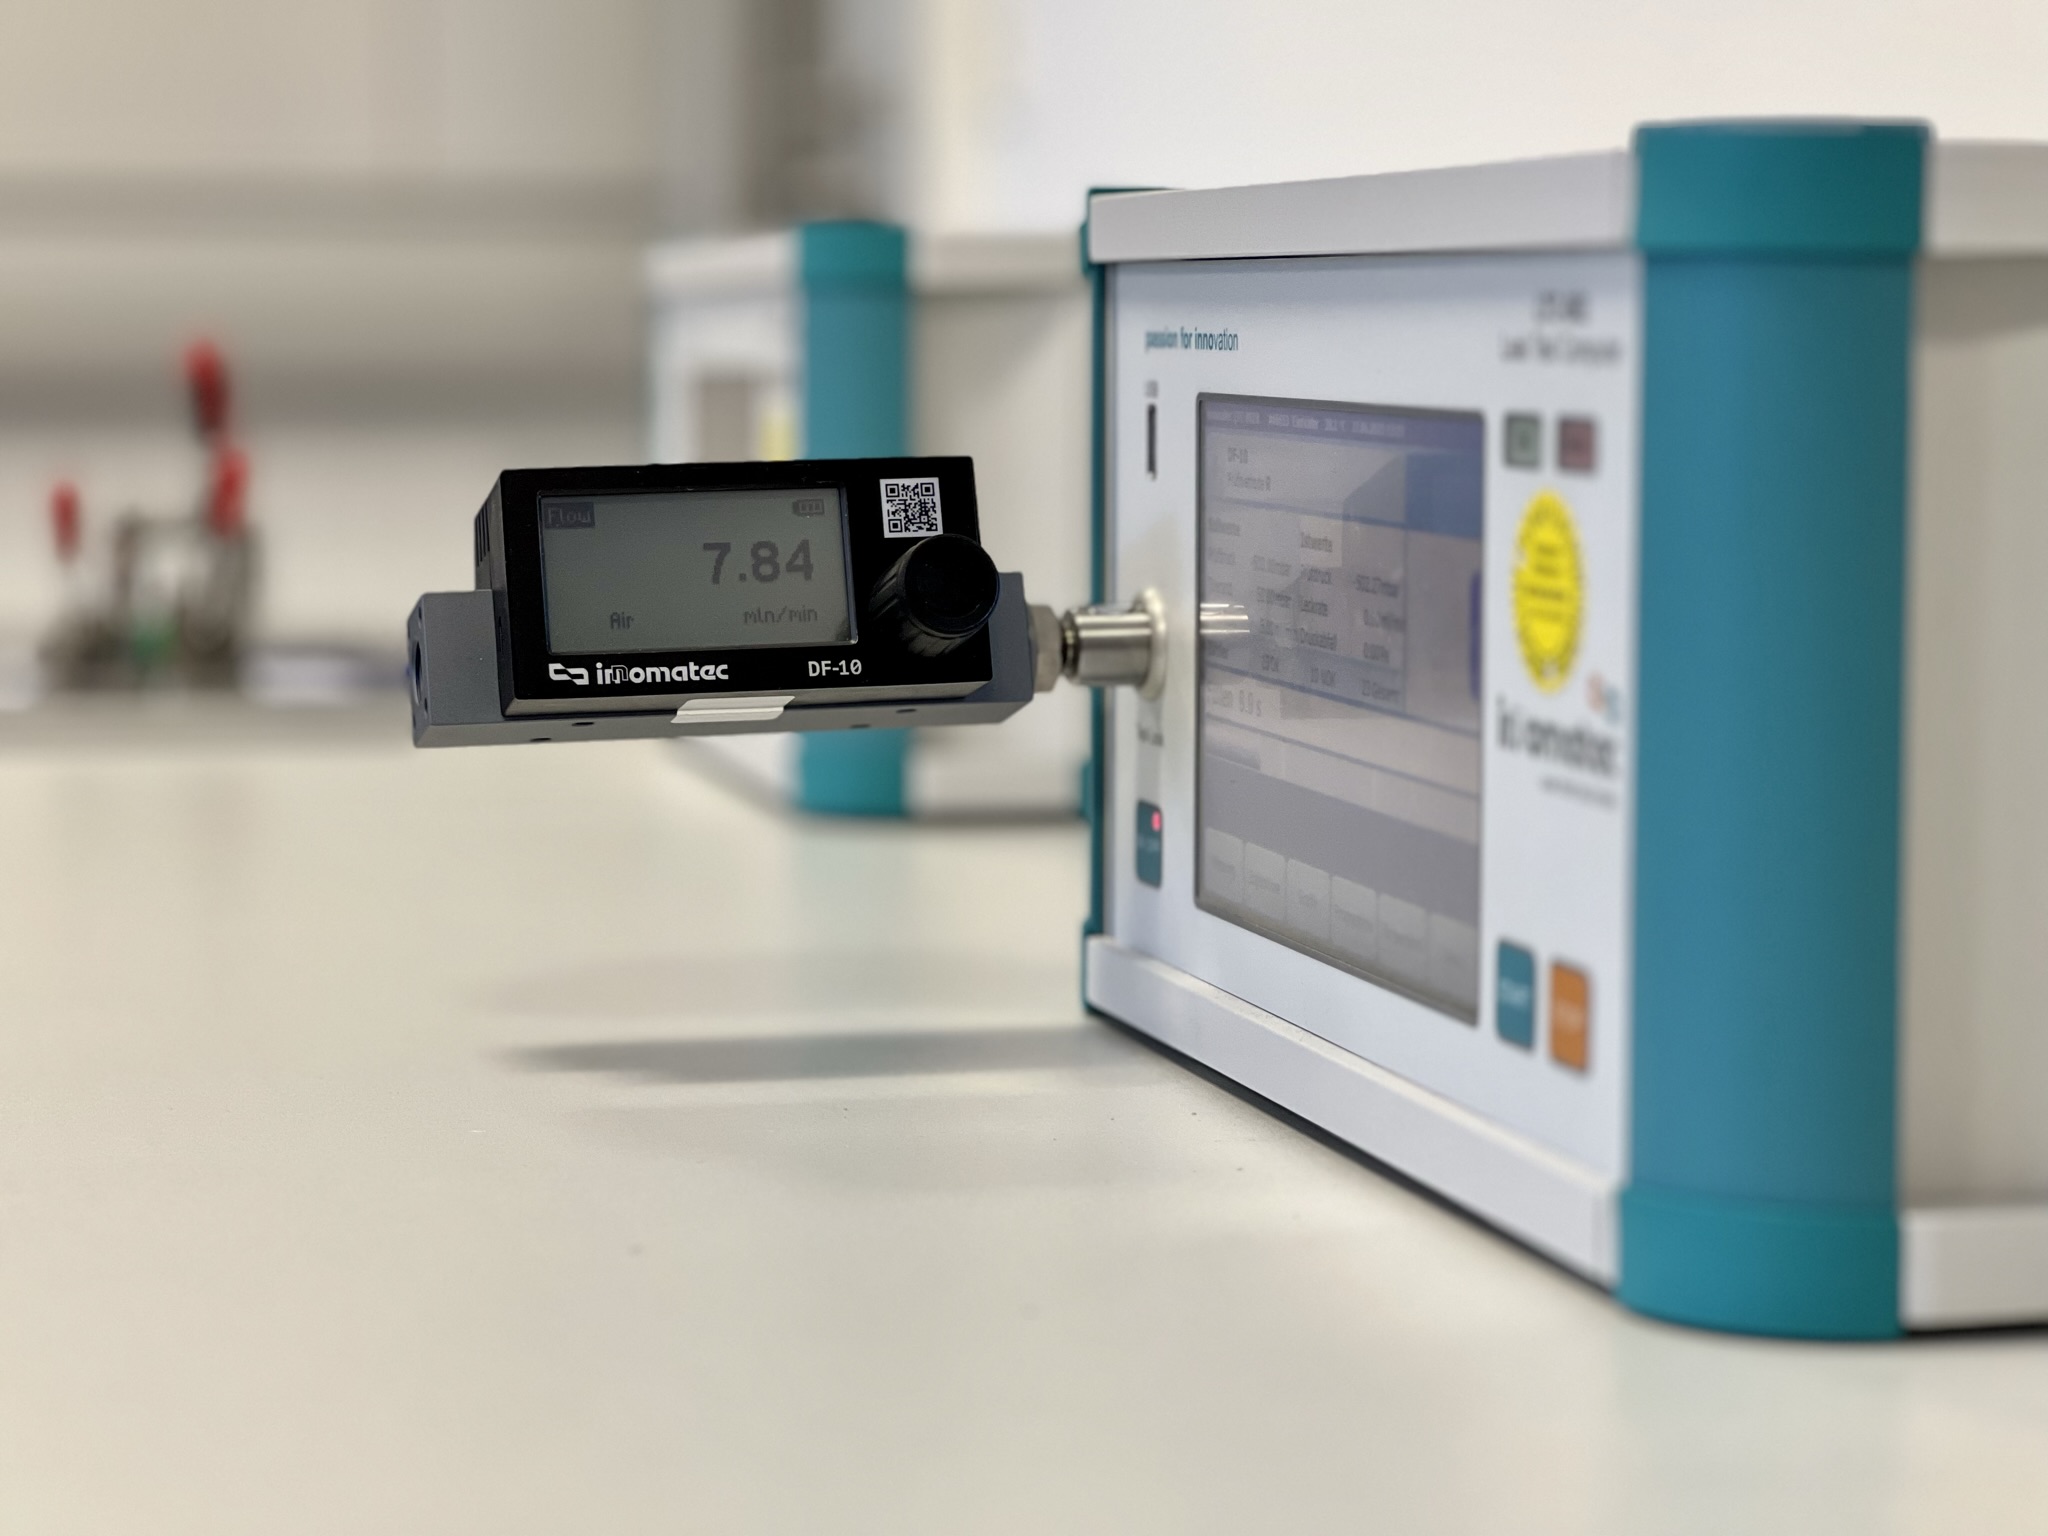
Check out the DF-10 Leak Simulator!
While standard test leaks are offer calibration to one “static” leak rate, the DF-10 Leak Simulator can be manually set to the different specifications you require across your line. If you are required to control many machines with different leak rates at the same site, the DF-10 could be an economical option for leak test calibration in your facility.
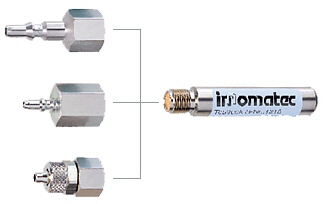
Flexible Connection Options
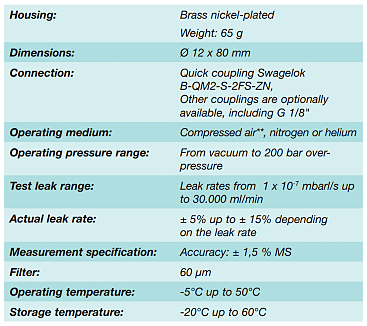
Technical specifications
Maintain annual recalibration of your test leaks
All instruments used in your leak test process should be calibrated regularly to ensure proper measurement and functioning—including your test leaks. innomatec offers comprehensive recalibration services, including DAkkS-certified calibration, to ensure the accuracy and reliability of your test leaks, leak test instruments, test benches, and other measurement devices.
